Pages

Wednesday 29 October 2014

Birth of a new studio...

It finally happened.  After a number of delays and thoughts about the appropriate time to actually build this new project, there is now something solid in the backyard.  I had intended to start building this new shed/studio space nearly 18 months ago, but a few different home chores kept taking higher priority.  As it was, I probably had intentions to still delay this new shed until after the 2015 Australian Narrow Gauge Convention, but it pretty much came to the fact I've nearly run out of storage space around home.  With two different layouts under construction out in the garage, as well as a heap of salvaged cabinets from a friends recent home renovation (enough to use for all the under layout storage I will have in the new space), I needed to establish the new studio/shed to free up space around the house.  The last posting showed the old garden shed being demolished.  The new shed is now up...twice the size, and all dedicated studio modelling space.


 Stumps dug, bearers installed, shed goes up (knew the kids would come in handy one day!), and the flooring is starting to go in.  Moving large sheets of yellow tongue solo is a "fun" job.  The final space will end up being roughly 3.5m x 5m once the inside of the shed gets a light stud wall and some insulation installed.  The roof line ended up being slightly lower than originally intended, but turns out it will help make the room feel bigger.  I had planned to leave it open over the layout, but with the lower roof, will go back to including an overhead lighting valance around the layout footprint (much the same as my previous exhibition layout designs).  This will essentially create a couple of corridors around the layout space.  With a blackened roof and all the under layout storage covered by curtains, it will make it harder to view the whole layout from one spot, meaning you'll have to walk around the scenes to experience it.  The size of the trees that will be across the layout will also create plenty of view blocks. 
 
Still a lot of work to be done before anything like a modelled layout starts to take shape (lining the walls, running power and lighting, reconfigure the cabinet work etc etc), but it is nice to now know there is some definite progress in the backyard, rather than just talk of this future home layout dream.
 
Cheers,
Dan

Monday 22 September 2014

Blank canvas...

Just started some holidays, and with a bit of sun in the sky again, time to create a blank canvas.  Have finally made a start of what will be the future modelling studio space in the back yard.  First step was to demolish the previous garden shed that stood in the corner of the yard.  Hardest part was removing the multiple layers of silicon that I'd built up around the base to try and keep the water out, followed by dodging all the falling spiders.  An afternoons work had the old shed removed...which apparently leaves the perfect stage (the concrete slab) for a couple of young dancing girls to put on an impromptu show during my coffee break :)


With the next few weeks off work, will hopefully be able to make some reasonable progress with getting the ground work done with the new construction.  If only I can get the kids excited about digging me a few deep holes to drop the stumps into!
 
Cheers,
Dan


Sunday 15 June 2014

Now for something different...

Firstly, a quick thankyou to all those that have supported and taken delivery of one of my gum tree CD's.  I am really appreciative of how well these have been received, and the future shed is happy with the support as well, however, the shed construction is on temporary hold...not due to funding, just the decision to put in some hard modelling time instead of outdoor construction during a cold and wet winter.
 
So, the new project that has pushed the shed aside for the moment...O-14.
 
Yup, change of scale.  Not forever, just it was on the "always wanted to do that" list.  My previously documented layout construction for "Brooks", has been put on hold.  It actually had some initial scenery work started on the station module, but the initial idea to perhaps have it ready to take up to Sydney next year for the 12th Australian Narrow Gauge Convention was always going to be a really tough deadline to meet.  Besides, being it was going to be part of my home layout eventually, I didn't really want to rush through the process for the sake of the convention.  It will just make its convention appearance at a later event (perhaps here in Geelong...nudge nudge, wink wink!). 

So, as I mentioned, O-14.  Always had a bit of an interest in this industrial railway gauge.  I love the quaint feel of it.  Probably the one part of it that has previously prevented me from doing an O-14 project, was the lack of locomotives and rolling stock (and hand built track work) to actually make it a working layout.  That's where a new partnership with modelling mate Geoff comes into it.  He also has the O-14 interest.  He also has the collection of loco's and rolling stock awaiting construction (having been in storage for considerable time, but now the time is available to bring them to life).  He also has the desire to build the track.  I now get to model some different style scenery with Geoff's half of the project forming the animation through it.  Win win situation.  The layout will remain at Geoff's place once its completed, with the intention to take it out to exhibitions, and demonstrate something a little bit different on the public circuit.  Its also a project we have a better chance of getting near ready to take to Sydney for the NGC as well :)
 
On to that new layout then.  We spent a bit of time browsing around what had previously been modelled, and deciding what we thought worked, and what didn't.  Geoff only has limited space at his place to house the finished layout (unless he can eventually convince his wife that a long layout in the new extension family room would look spectacular!).  I was also happy that it was a fairly confined size that I could just scratch that O-14 itch with (I didn't want to fully convert!).  We had a narrow doorway the layout had to negotiate, and also wanted to make transport easy, by just restricting its cartage to in the car only, and also keeping exhibition set up quick and easy.  We were doing a Welsh Slate theme, and in browsing for ideas, came across a layout called "Ravens Rock".  For me, this layout ticked a lot of important exhibition boxes.

 
As far as an exhibition layout goes, it is compact, different in its presentation, spectacular with its vertical presence, and simple enough with its operation.  All the things I look for that make an exhibition layout a successful project.  So, to the drawing board...
 
The chosen layout vehicle is Geoff's RAV4, which has good height inside when the rear seats are pulled out (easily done).  We are taking a lot from the vertical appearance of Ravens Rock, but changing a number of the feature scenes, such as the incline has been removed in exchange for a different scene.  The layout has been framed in aluminium, and clad with ply, to keep it all nice and light weight, yet strong.  The great thing about the aluminium is it's so quick to work with.  From the drawings I made (after measuring the car), I had the frame members cut and assembled in less that an hour.


The rear sections that can be seen clamped to the rear of the layout in the pics above are to be the staging yards.  Geoff has a reasonable collection of locomotives to build, so this layout will be a nice opportunity to rotate them in use through out an exhibition day.  Currently, the layout is well on the way to getting it ready to move into he scenery side of the project, but there has been plenty of fun with creative engineering this module.  The module size is a tight fit in the back of the car, so plenty had to considered.  Space was left below the layout for point motors (Tortoise), and storage of wiring and DCC (NCE).  Lighting has been incorporated into the roof, but here is also an extra overhead lighting rig that mounts on the roof of the layout.  The support arms that hold this overhead lighting up are hinged to fold neatly within the roof space.  There have been a fair few cold nights spent out in the garage in the last few weeks staring at the project, trying to nut out how to make it all work.  Thus far, I've been really happy with the results...


The lower staging yard will include a cassette system to allow change over and turning of whole trains.  That's been the really challenging part, engineering how that element will work.  It's currently in the testing stage, but seems to be a viable option.  More photos of that part to be documented once happy the mechanism is reliable enough for exhibition use.  We will be taking the under construction layout up to the Grampians Model Railway Exhibition in July, so visitors will be able to see some of the guts of what goes into building an exhibition layout.  Hopefully by that time, I will be ready to start work on some of the rock carvings.  The intention is to spend most of that weekend exhibition with the hot wire foam cutter running.  I've got a considerable amount of rock to shape...
 
 
The photo above, of Bethesda Slate Quarry, gives a good impression of what I need to carve out.  The different levels (galleries, or terraces)  are both harsh and spectacular.  Given that this entire layout is essentially a rock face, the challenge is to keep it light weight.  When researching the background of Ravens Rock, it was documented as a exceptionally heavy layout, shaped with plenty of heavy plaster.  That's perhaps the biggest challenge of this project...so much "rock" with no weight.  I've got a few ideas to test out in the coming months, avoiding a plaster mountain at all costs!
 
Cheers,
Dan


Saturday 26 April 2014

Here comes the plug...

It's shameless, I know, but I have a new shed I want to build for some proper studio space, so I'm selling my soul, I mean, I selling my CD's.
 
As per the last blog post, I was up in Sydney for the Aus7 ExpO, and spent the whole day presenting my gum tree clinic over and over through out the day.  As part of preparing for that event, I spent some time rewriting my previous gum tree building clinic notes.  They were reformatted so they appear better on a computer monitor (ie landscape view), and with a heap of extra information pages, such as some colour charts and additional instructional pointers.  The clinics I hosted up in Sydney were accompanied by a slide show presentation to help speed up the steps in the shortened clinic format.  A reduced clinic time would mean less time to spend explaining my process, so I produced a pile of CD's with my clinic notes.  What I presented during the clinics was a brief overview of what I do, and if people wanted to know more, the information was available to purchase on the CD.  Thankfully, plenty of people wanted that extra information. 
 
So, play the jingle...

 
For those that have an interest in modelling Australian scenery, and enjoy the style of gum trees that I model and feature in my layouts and dioramas, the step by step CD, "A Guide to Building Iconic Aussie Gum Trees" is now available.  The clinic notes are now 35 pages of thorough details on how I pull these tree models together.  Heaps of photos of the different stages, all clearly described.  It seems like a lot of pages on how to build a tree, but the intention is to answer every question you might have about the process.  See below for a couple of sample photos from the guide...


I've also recently taken the time to set up and take some decent photos of some of my layouts and dioramas, so have included a selection of photo albums on the CD that feature my gum trees in some finished scenes.  A bit of eye candy, but also really helpful to see how the time spent on building these trees serves to really make a feature of the modelled scenery.  Again, couple of sample photos seen here below...


I intend to have my CD's available on my stand when I display at the couple of model railway exhibitions I attend across the course of the year (my next outing is up at Stawell in July).  For those that aren't able to get to these exhibitions, I am making the CD available through eBay, at a price of $10, plus postage (in Australia, $3 postage, or $7 to the rest of the world). 
 
Plug done, except for the eBay link...
 
 
Cheers,
Dan


Friday 25 April 2014

The Aus7 ExpO

Um, yup, its been a little while, but thought I should actually get around to slapping up a bit of a report on this brilliant weekend I got to be a part of.  So, the Aus7 group (dedicated for O scale modellers of Australia) has been around for 10 years.  Normally their gatherings are a bit of a closed forum type of event, but to celebrate this little mile stone, they decided to organise a one day public exhibition, promoting the art of O scale modelling.
 
Held at the old Casula Powerhouse, which has been converted to an amazing arts centre, it was billed as an O scale only exhibition...that doesn't tend to happen, ever.  In my years of exhibiting, as an O scale modeller, you often feel a bit like the odd ones out.  With the dominant scale of choice, especially at exhibitions, being HO (even as far as all the trade offerings, its a bit rare to find anything O scale for sale at exhibitions), the whole O scale thing is kind of left to the modeller to do their own leg work and learn about it.  To have the chance to be involved in this O scale exclusive event was a bit of a dream come true.
 
So, with all my bits for display packed into the car, I made the long drive up to Sydney for the show.  I was up there to display some of my tree modelling results (took the 
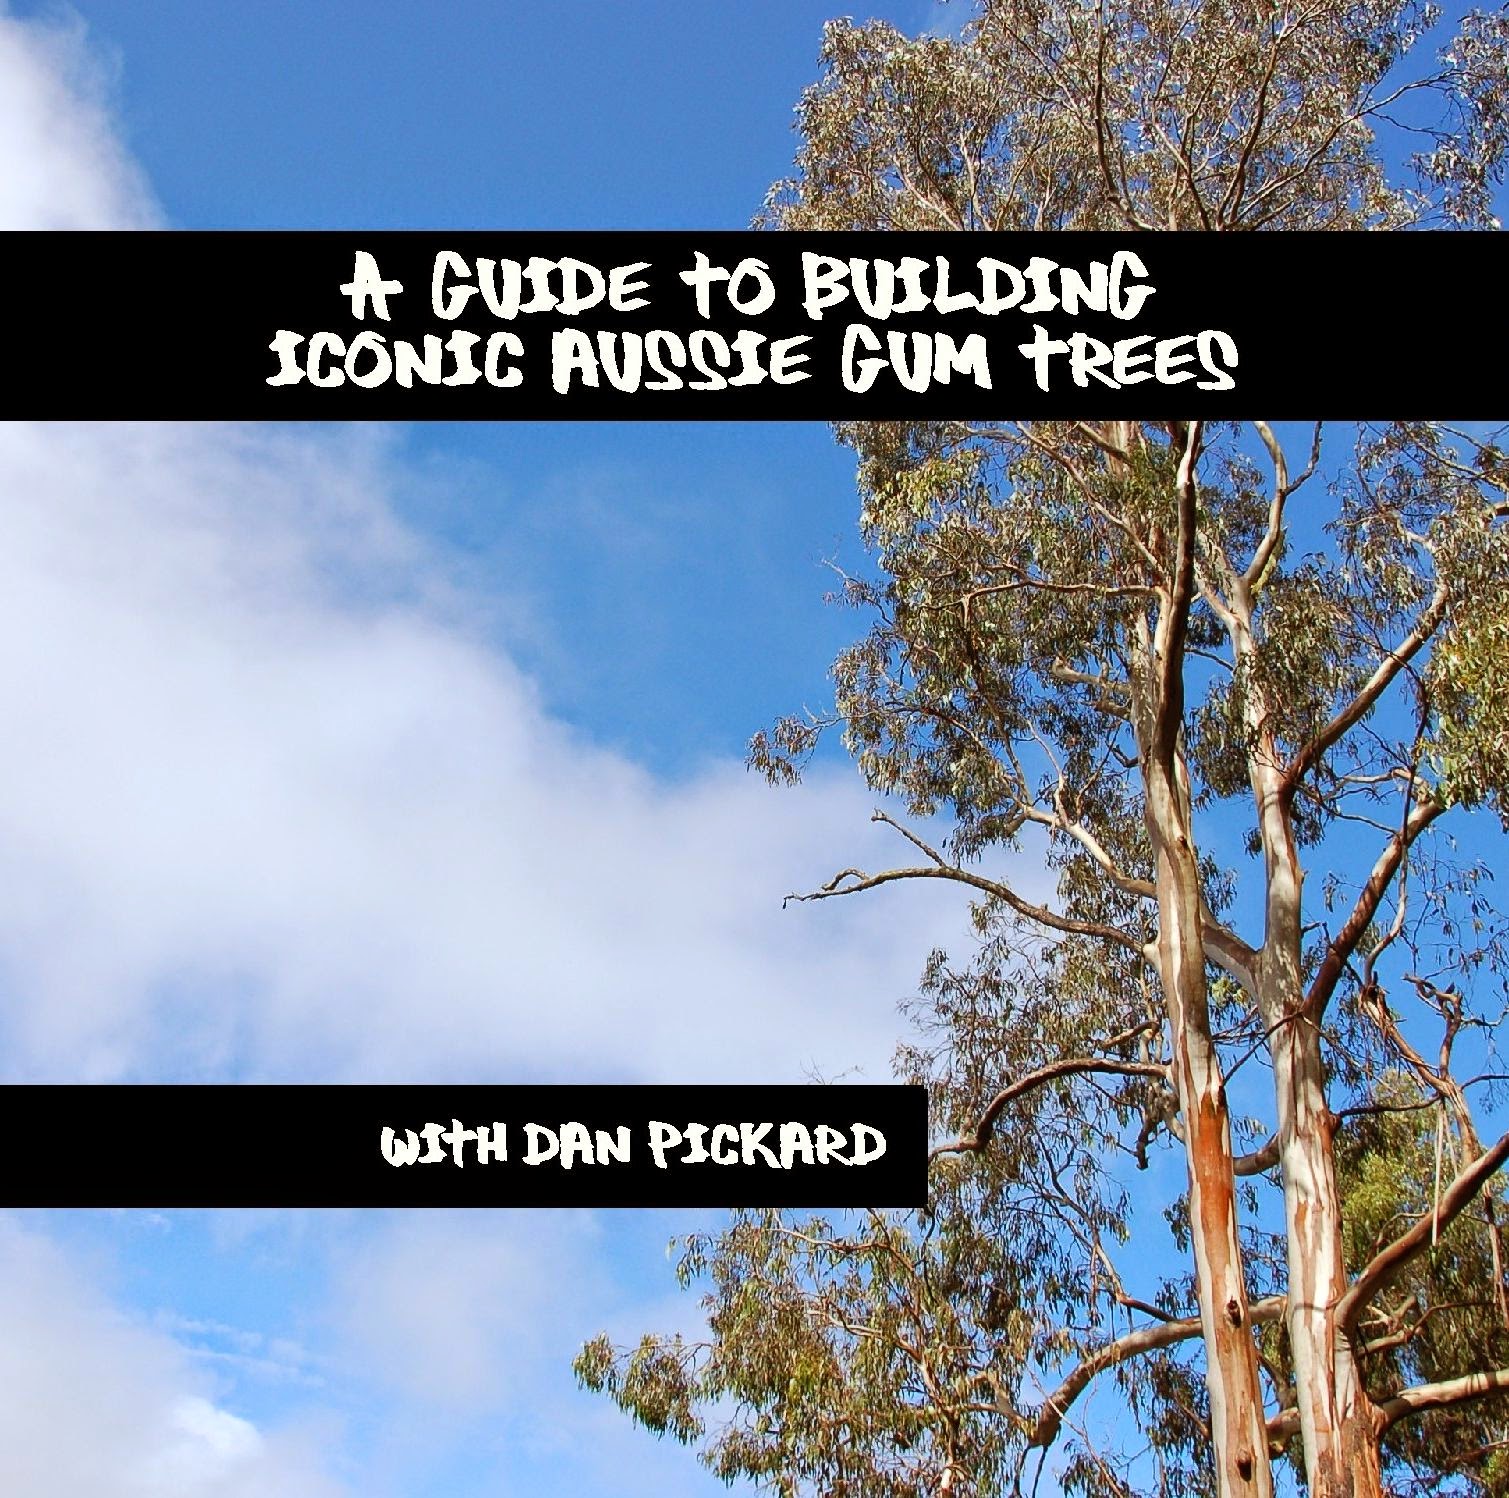
Splitters Gorge diorama for show, and also my Diggers Bend layout, which was its last show with me, and handed on to a new owner up in Sydney), and spend the day hosting a repeating series of tree clinics for the day.  That clinic normally runs for about an hour if I do it at a convention, but for the sake of this event, I was able to condense it down to about a 20 minute overview of how to build a gum tree. 
 
I mentioned the venue, the old Casula Powerhouse...cool joint!  Heaps of industrial features, old iron and concrete mixed with some modern artsy features.  Excellent venue, and a really venue, which seemed appropriate for this different sort of show.


Set up for the show was pretty smooth, and also a great chance to meet some of the other modellers who I had only conversed with via web forums.  It was cosy little group of exhibitors, and we got the share a nice meal at the venue that night after setting up, dining whilst surrounded by a decent display of modelling creations.

The show was held for just the one day (March 1st, 2014).  Weather was a challenge that day, as I think we ended up having almost 40mm of rain that day.  Not really ideal weather for getting out and about!  Still, the show goes on.  It was a quieter day as far as exhibition attendees, but I think we expected that given the nature of the show.  The venue was still full, but had a decidedly different feel than a normal exhibition.  Not sure if the venue had anything to do with this, but it had a far more relaxed atmosphere.  To me, it felt more like an art show.  Not so much pushing and shoving to see displays, and being run over by prams and charging kids (in fact, I didn't really see too many kids at all).  This was a more mature sort of crowd.  Quiet, and seemed more respectful of what they were there to see.  I think a lot of attendees spent more time there slowly wandering through the displays, and taking the time to really appreciate the efforts some of the modellers had gone too.  Without a doubt, one of the most comfortable railway exhibitions I've had a chance to experience.
 
As for my tree clinics, I ended up repeating the session 7 times through out the day, plus numerous brief extra sessions between scheduled times for all those still with more questions.  It was good to sit with small groups each time with keen interest in seeing how this tree thing all happens.  They must have been interested because I parted with a good number of the CD's I've produced with all my tree clinic notes.  I was fairly spent, and just a bit hoarse by the end of the day, but it was a very rewarding thing to be a part of.
 
The other modelling on display was exceptional.  One of the things I've always appreciated about O scale modelling, is there is often more attention to detail with this scale.  There was no shortage of that.  A number of the layouts were built specifically for this show.  Some never intended for public display, but some huge efforts (O scale is a big scale, including some of the huge module son display!) to get them there for a rare viewing.  All seemed to run well, and all well appreciated.


The other part of this show that made it so special was the efforts made by the organisers to look after the exhibitors.  Accommodated at the nearby super comfortable Mecure hotel (I'm not likely to get model railway exhibitors accommodation like that ever again!), well fed on both nights at the Arts Centre and also back at the Mecure on the Saturday night (with a great presentation night), as well as the full cooked breakfast to fill up on each morning.  That alone was worth the drive, but the models I got to see, and modellers I got to meet, made it even better.  I would never expect any other exhibitions efforts to come close to this show (I mean, it was a one off event for a reason), but the level of professional presentation on behalf of each of the layouts was highly appreciated, and really took it to more of a display of artistic creations, rather than the usual rambling bunch of train guys with their stuff in a hall. 
 
As I made the long drive home with a couple of other local Victorian  modellers (Laurie Green and Grant McAdam), it was also a great opportunity to call in on another good modelling friend, Murray Scholz, (Bogong & Geehi Railway) and check out his layout progress.  A big thankyou to Murray and his family for sharing a much needed lunch (and break from driving), and giving us a tour of his efforts out in his modelling shed.  Always great to see what other modellers are doing, especially when its based around a similar prototype to what my interests are, and see how they are tackling the process.  Please make sure you check Murrays Bogong & Geehi blog for his layout updates.
 
So home again, with a bunch of new ideas and new inspirations.  Time to find some more time in the shed.  Time to build a new shed!
 
Cheers,
Dan